Installing PRG SMS Data Transfer Applications
Step 1 – Login in to the website.
Navigate to the site below
http://www.valueaddedonline.com/login.asp
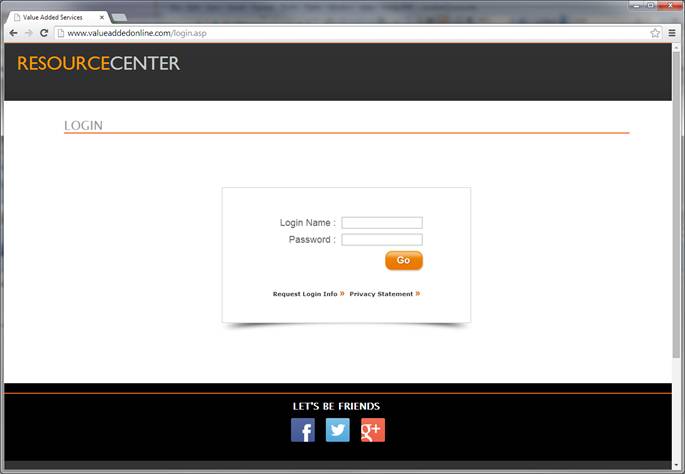
Input Login Name and Password in above page, then press “Go” and the page below opens.
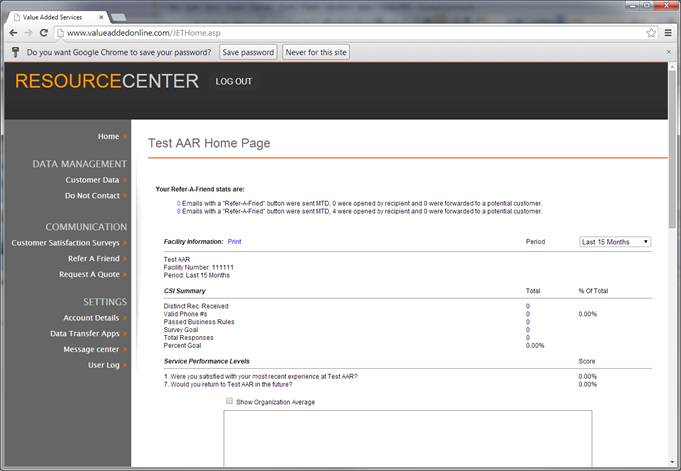
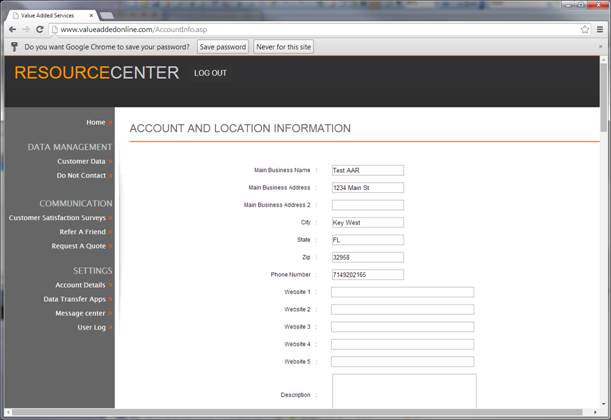
Step 2: - Set up email accounts to receive alerts.

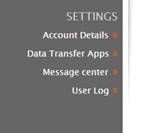 Click
“Account Details”
Click
“Account Details”
Scroll Down
![]()
Click “Edit”
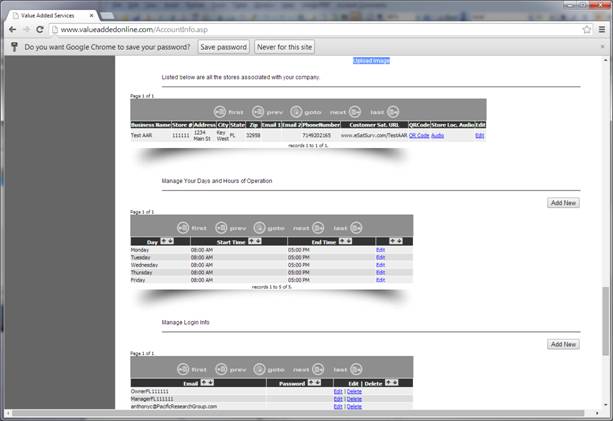
Add Emails
Add email addresses here. Press submit when you are done 


Step 3: - Download the data transfer app.
 Click
“Data Transfer Apps”
Click
“Data Transfer Apps”
Choose the transfer app that corresponds to the shop
management system.
![]()
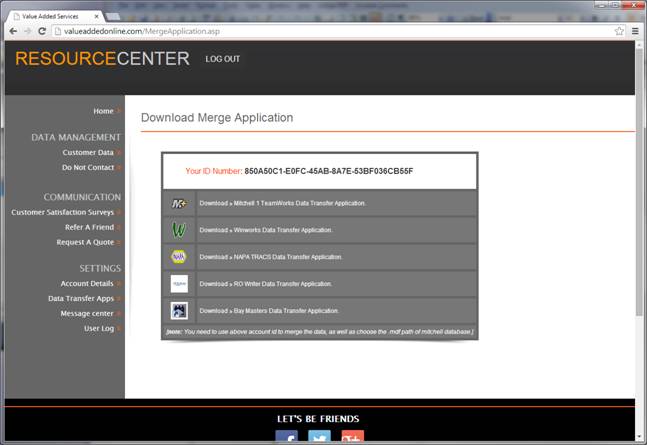
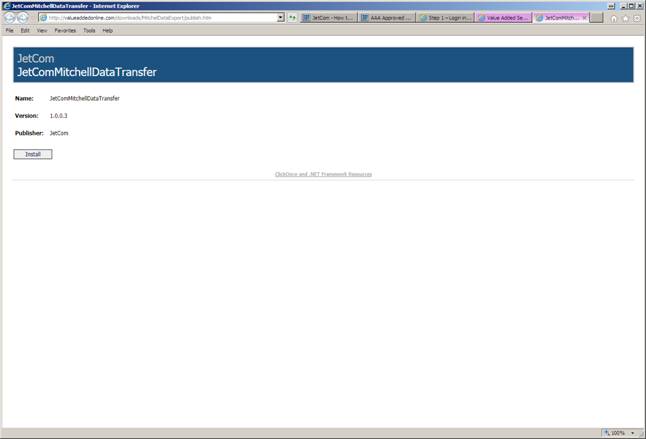
Click the word “Download” to begin the download process.

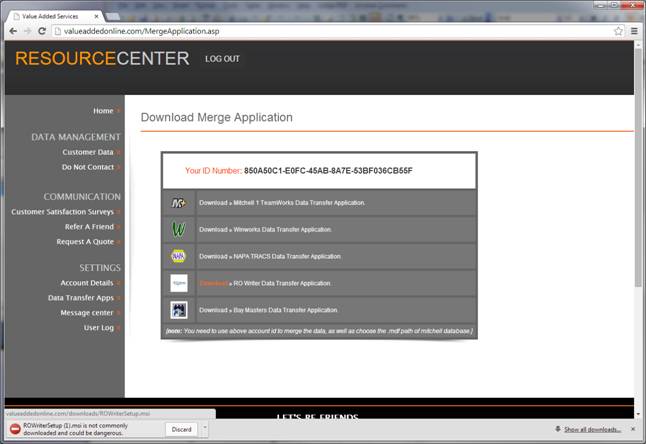
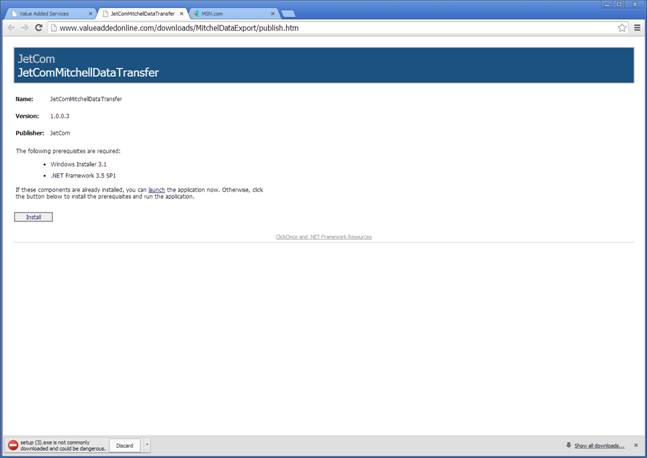
Press the “Install” button to begin the installation. Wait for a few moments while the
application begins.
If you see this message press the downward pointing
triangle and select “Keep”
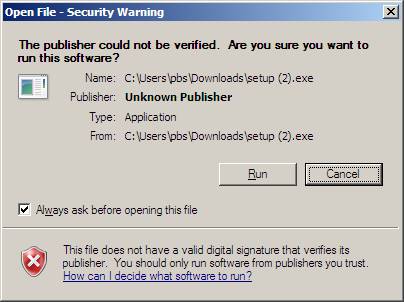
Press “Run”
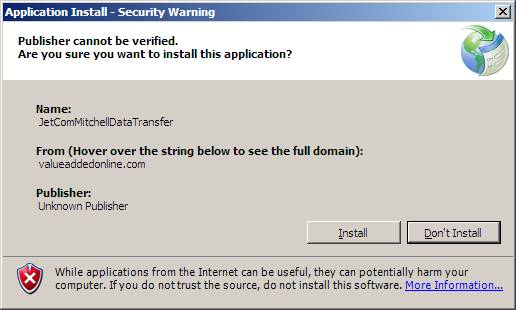
If you see a message box similar to this, press “Install”
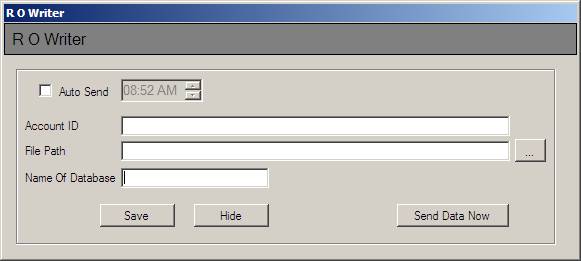
If the App does not Automatically start, Start the app from an Icon Similar to this.
Launch the app by double clicking on the icon.
![]()

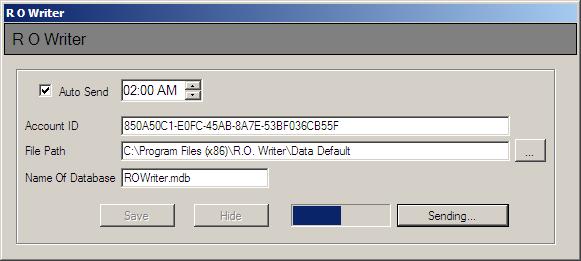
Step 4: - Add Facility Specific Settings to Transfer
App
Copy the ID number from the website and paste it in the
Account ID field.
![]()

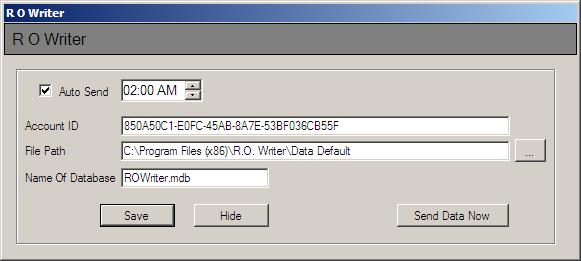
Use below info to fill the file path info and the name of the Database if required.
SMS Path Database
Name SQL Connection
Bay Master C:\ACR\LIVE\DATA CUSVEHMSC NA
Mitchell1 Shop Key C:\Program Files (x86)\M1-SK\Teamworks\Manager\Data ShopMgt <servername>\SHOPSTREAM
TRACS C:\NAPA\tracs\db TRACS NA
WinWorks C:\AutoShop ShopData NA
R.O. Writer C:\Program Files (x86)\R.O. Writer\Data Default ROWriter NA
All Data C:\Program Files (x86)\MSSQL10_50.ALLDATASC\MSSQL ServiceCenterData <servername>\ALLDATASC
Step 5: - Setting Database Connections
There are 2 different types of connections discussed below. The first one like RO Writer is a connection directly to the DB file.
The other (Mitchell 1 6.4 or later and AllData) is connecting to the SQL instance.
Connecting To Database:

Connecting To SQL Instance:
When you connect to a SQL Instance, you need to find the server name where SQL is installed. This may be the name of the
workstation you are working on or the name of a different PC in the facility network. There is a simple way to determine the
SQL instance name.
On Mitchell Manager, click “Help > About Manager”

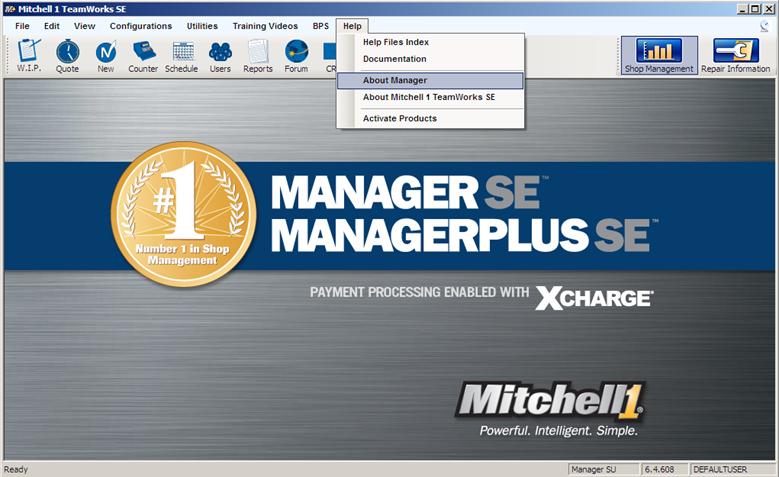
The information below “Core Database Path” provides you
with the server name. The server
name is the name before the first “\”.
In this example the server name is “PBS-PC”. Therefore the SQL Instance connection
would be – PBS-PC\SHOPSTREAM


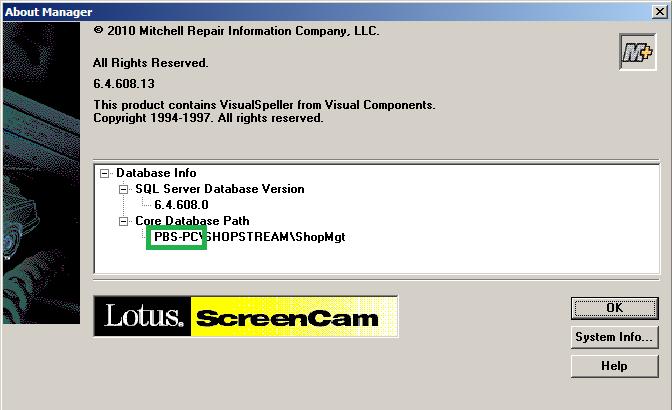
Copy the server name from “Core Database Path” and type
it before the first “\SHOPSTREAM”.
In this example the server name is “PBS-PC”. Therefore the SQL Instance would be –
PBS-PC\SHOPSTREAM

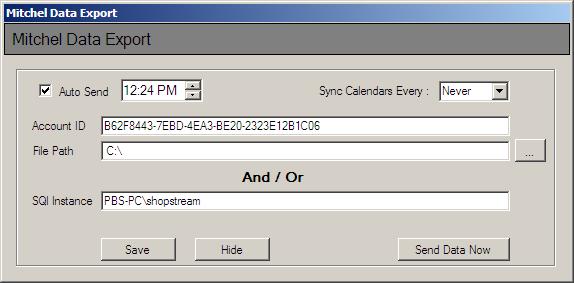
Step 6: - Set The Auto Send
Time
If the shop leaves the database and workstation computers on 24/7 then set the app to run any time after 6 PM local to about
4 AM local. If the facility turns of either the workstation that the apps is on or the database server then set auto send to
Any time between 8:00 AM and 3:PM. Remember to check the box next to Auto Send.
Set the Auto Send Time.

Step 7: - Save Your Changes
Press the save button.
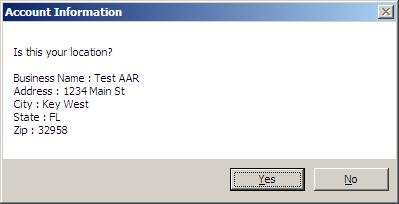
Confirm that your account information is correct. This information is based on the Account
ID used.

Press “Send Data Now” to begin sending data immediately.